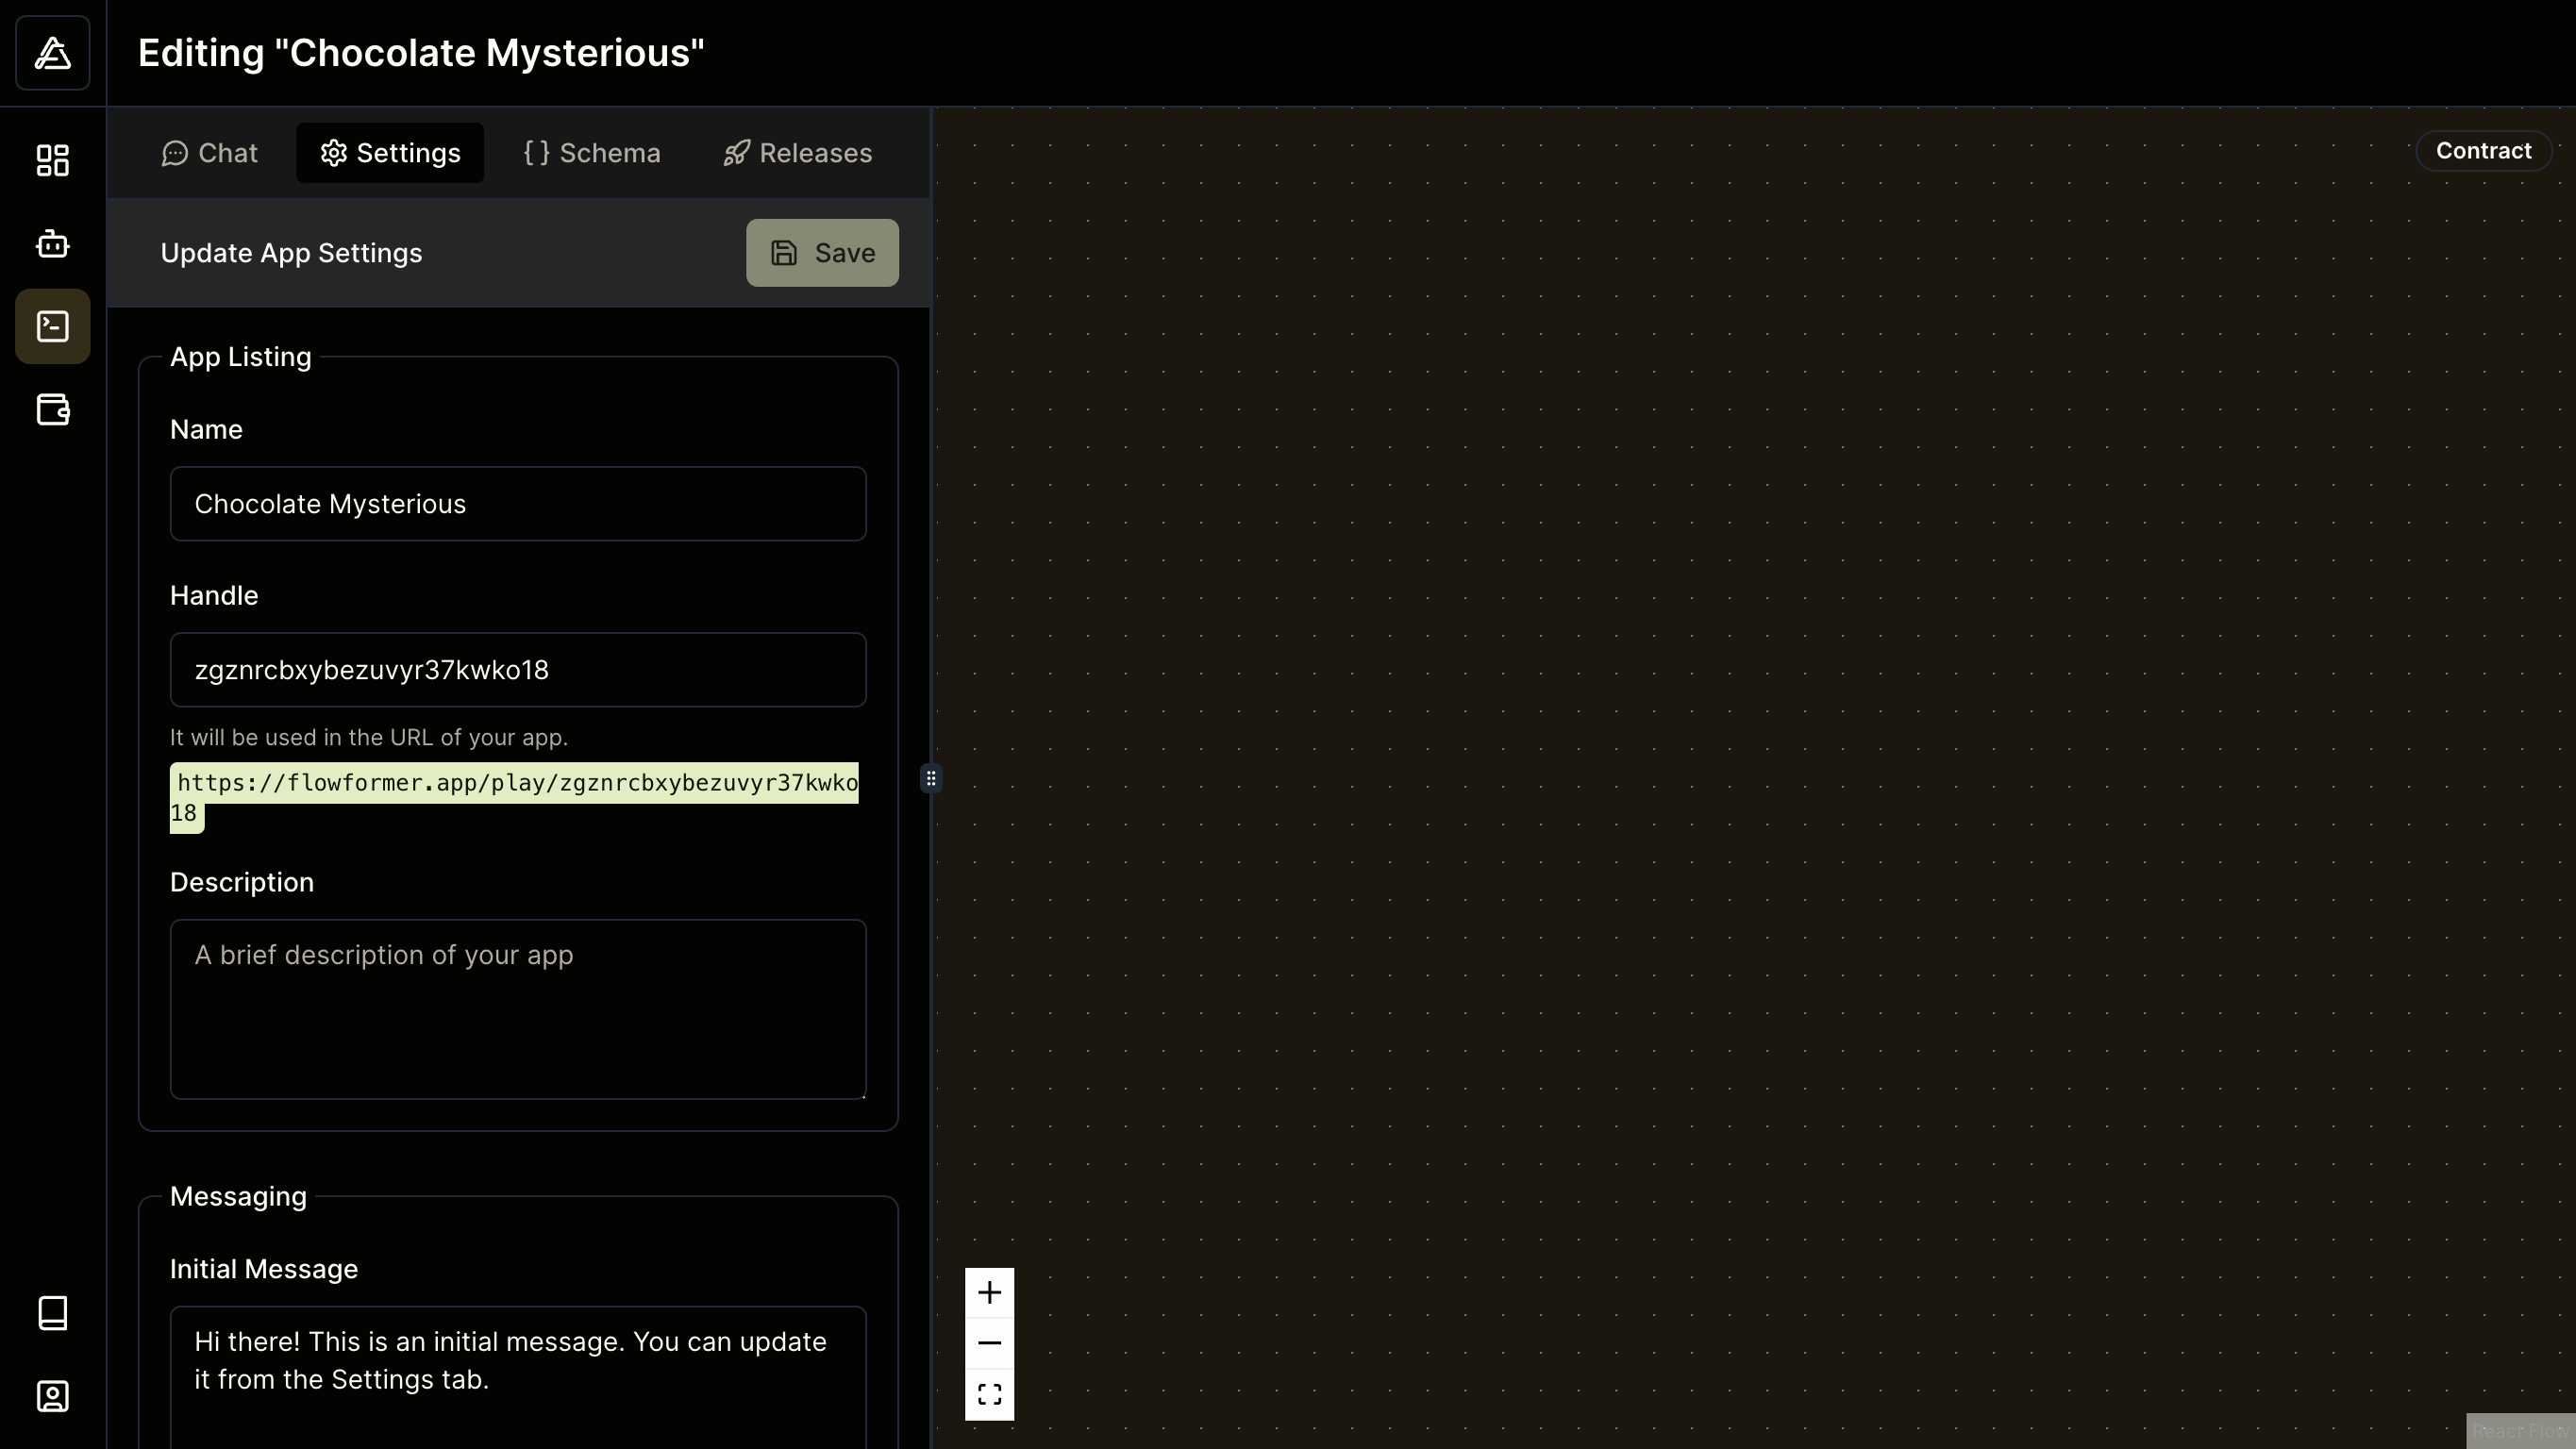
Creating a new Flowformer app
To create a new Flowformer app, you need to go to the Flowformer studio Flowformer Studio (opens in a new tab). Then click on the "Create your first app" button.
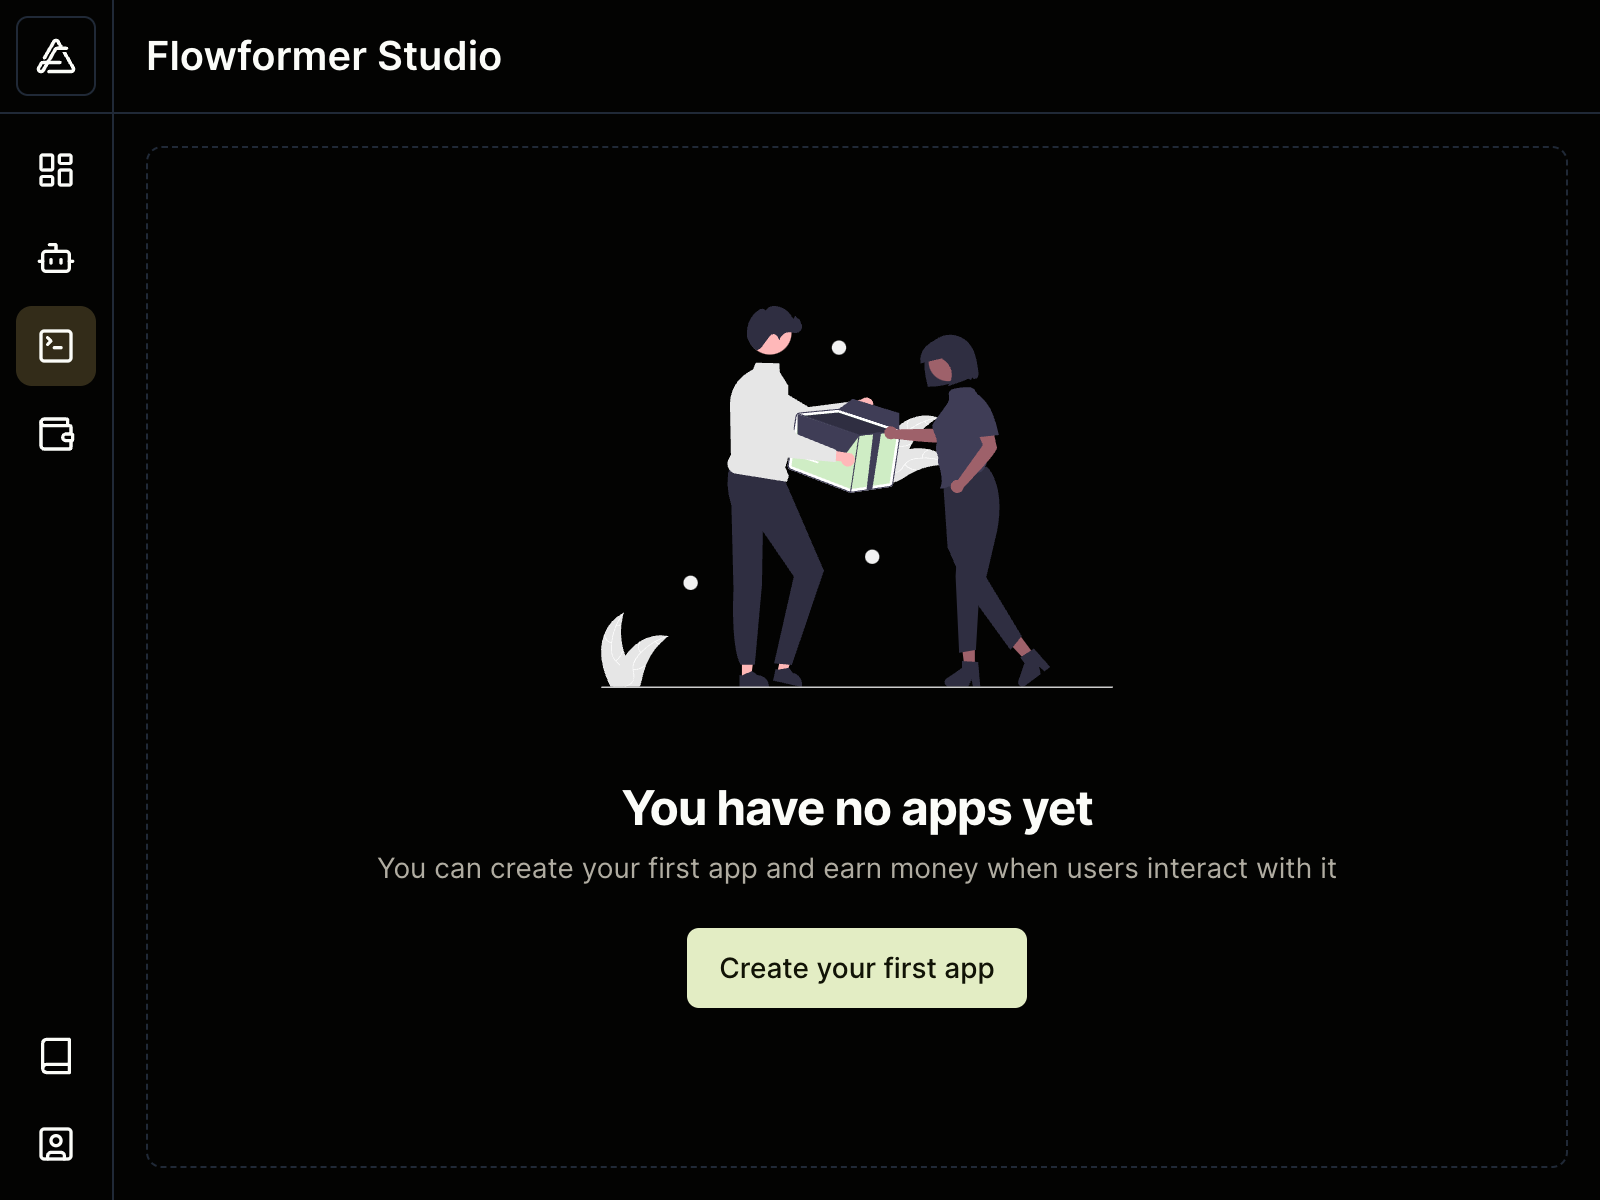
Once you create your app, you'll see a few steps to follow to get started with your app.
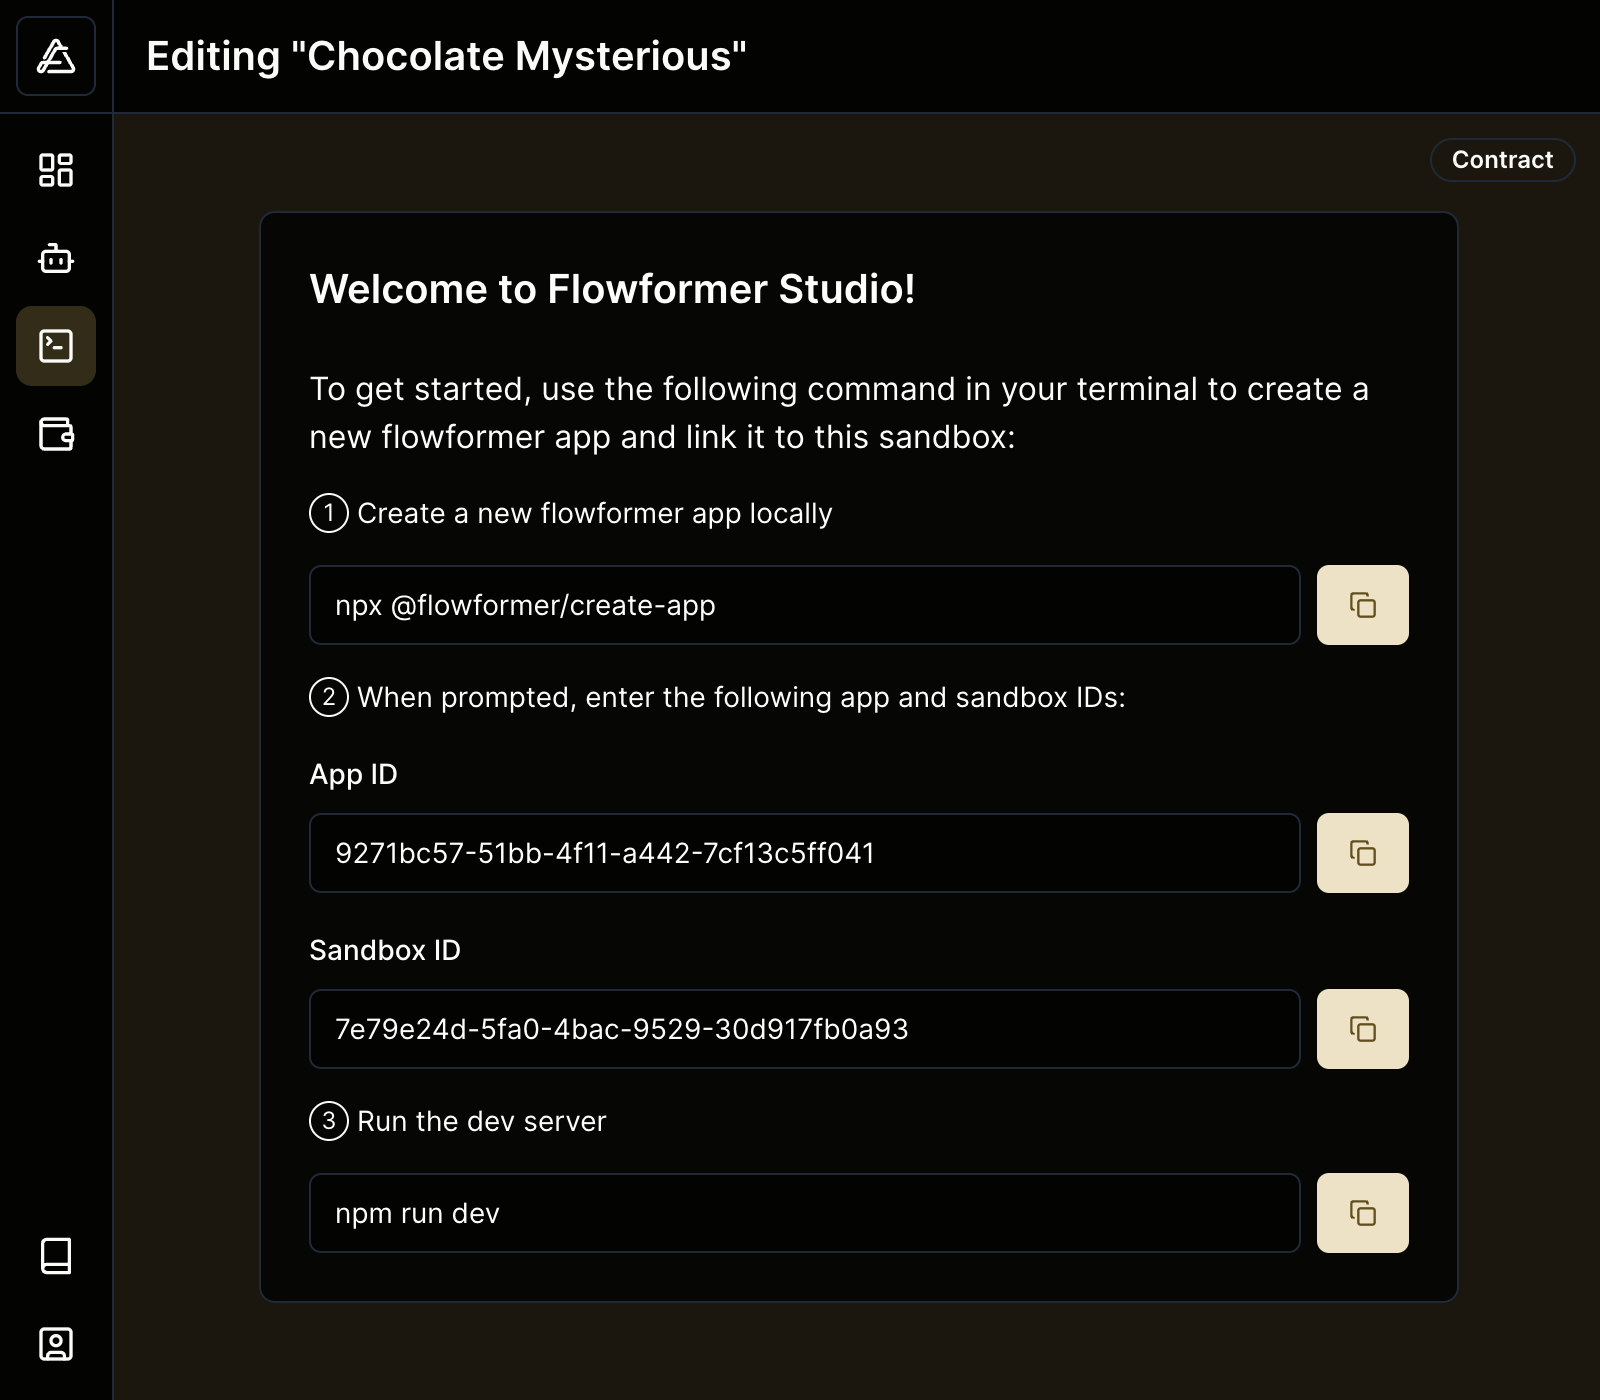
The first step is to run the following command in your terminal to create a new Flowformer app using the package manager you prefer.
# Using npm
npx @flowformer/create-app

# Using pnpm
pnpm dlx @flowformer/create-app

# Using yarn
yarn dlx @flowformer/create-app
pnpm dlx @flowformer/create-appThen you'll be asked to enter your app id and sandbox id. You can find these values in the Flowformer studio.
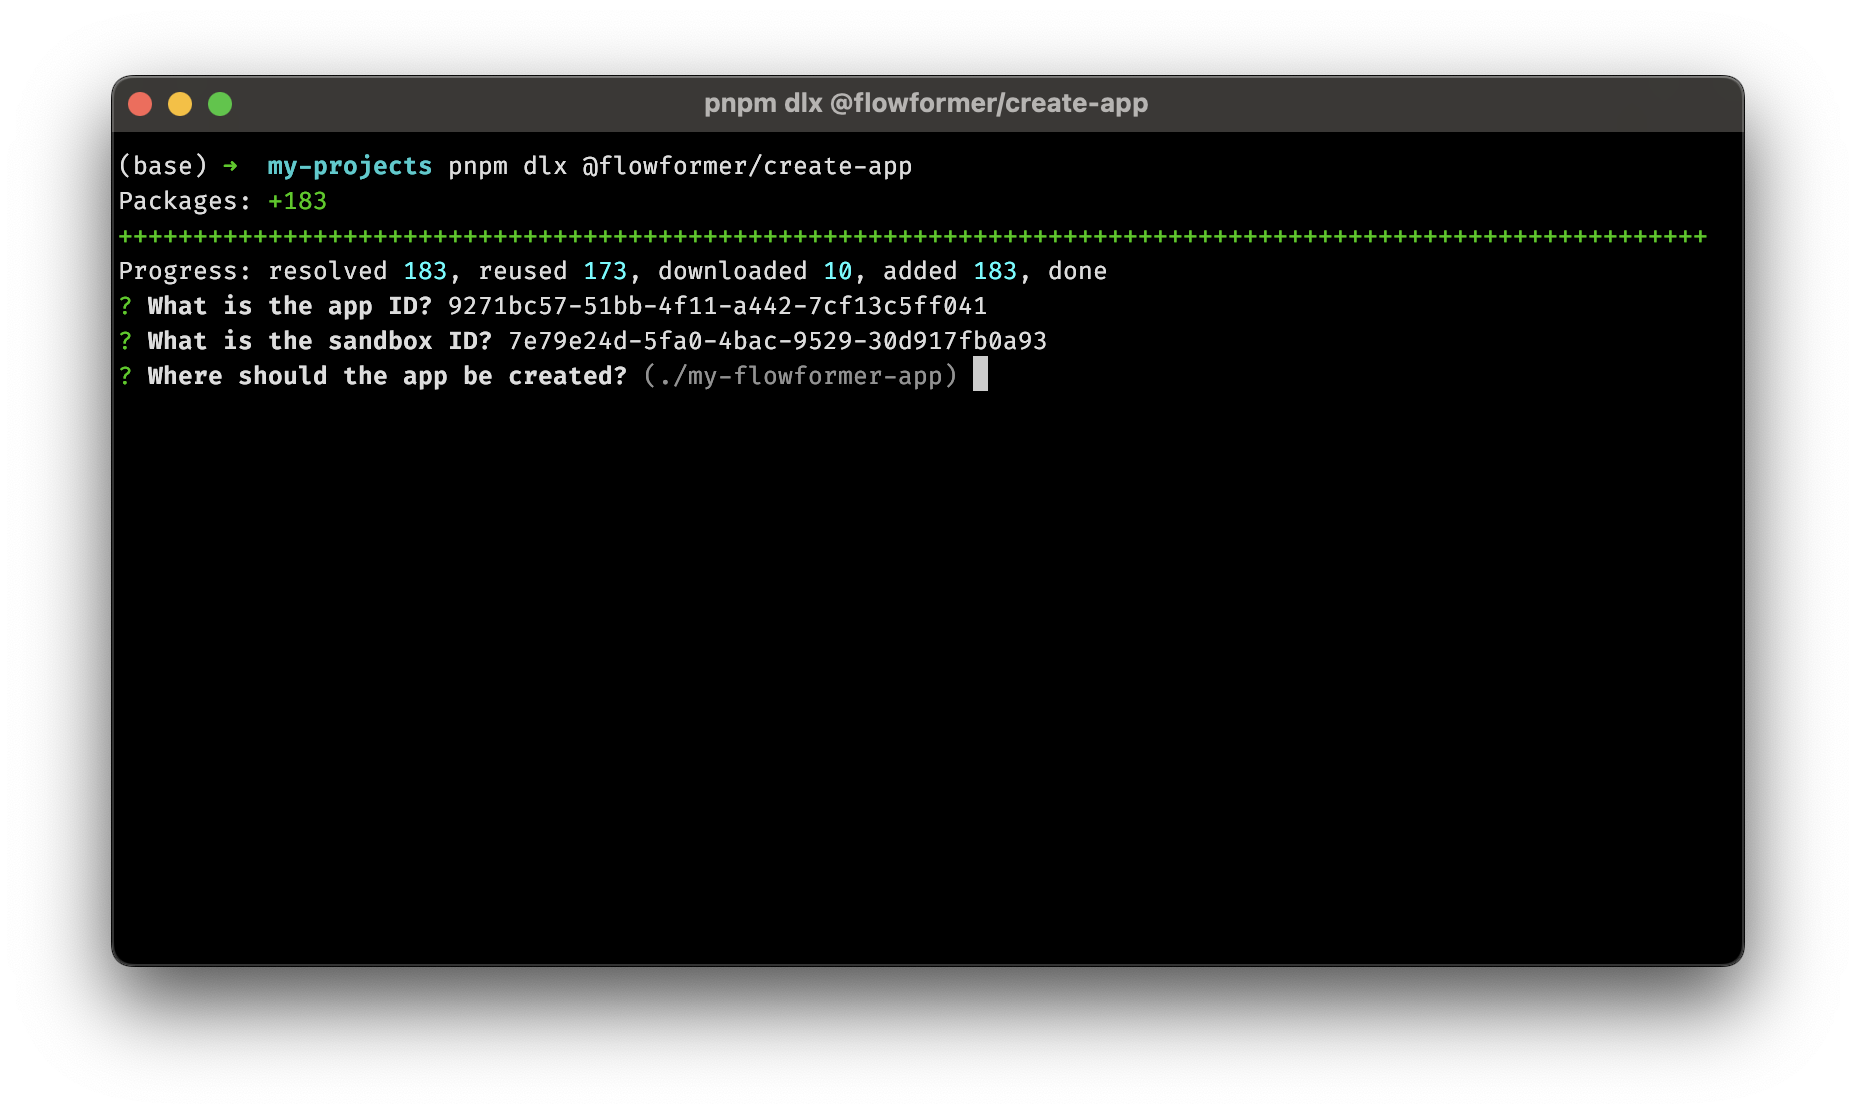
When you're done, you can run cd into your app directory and run the following command to start your app.
npm run devOnce you run the command, you'll be asked to authenticate with your Flowformer account. After you authenticate, you can return to the studio tab in your browser and interact with your app.
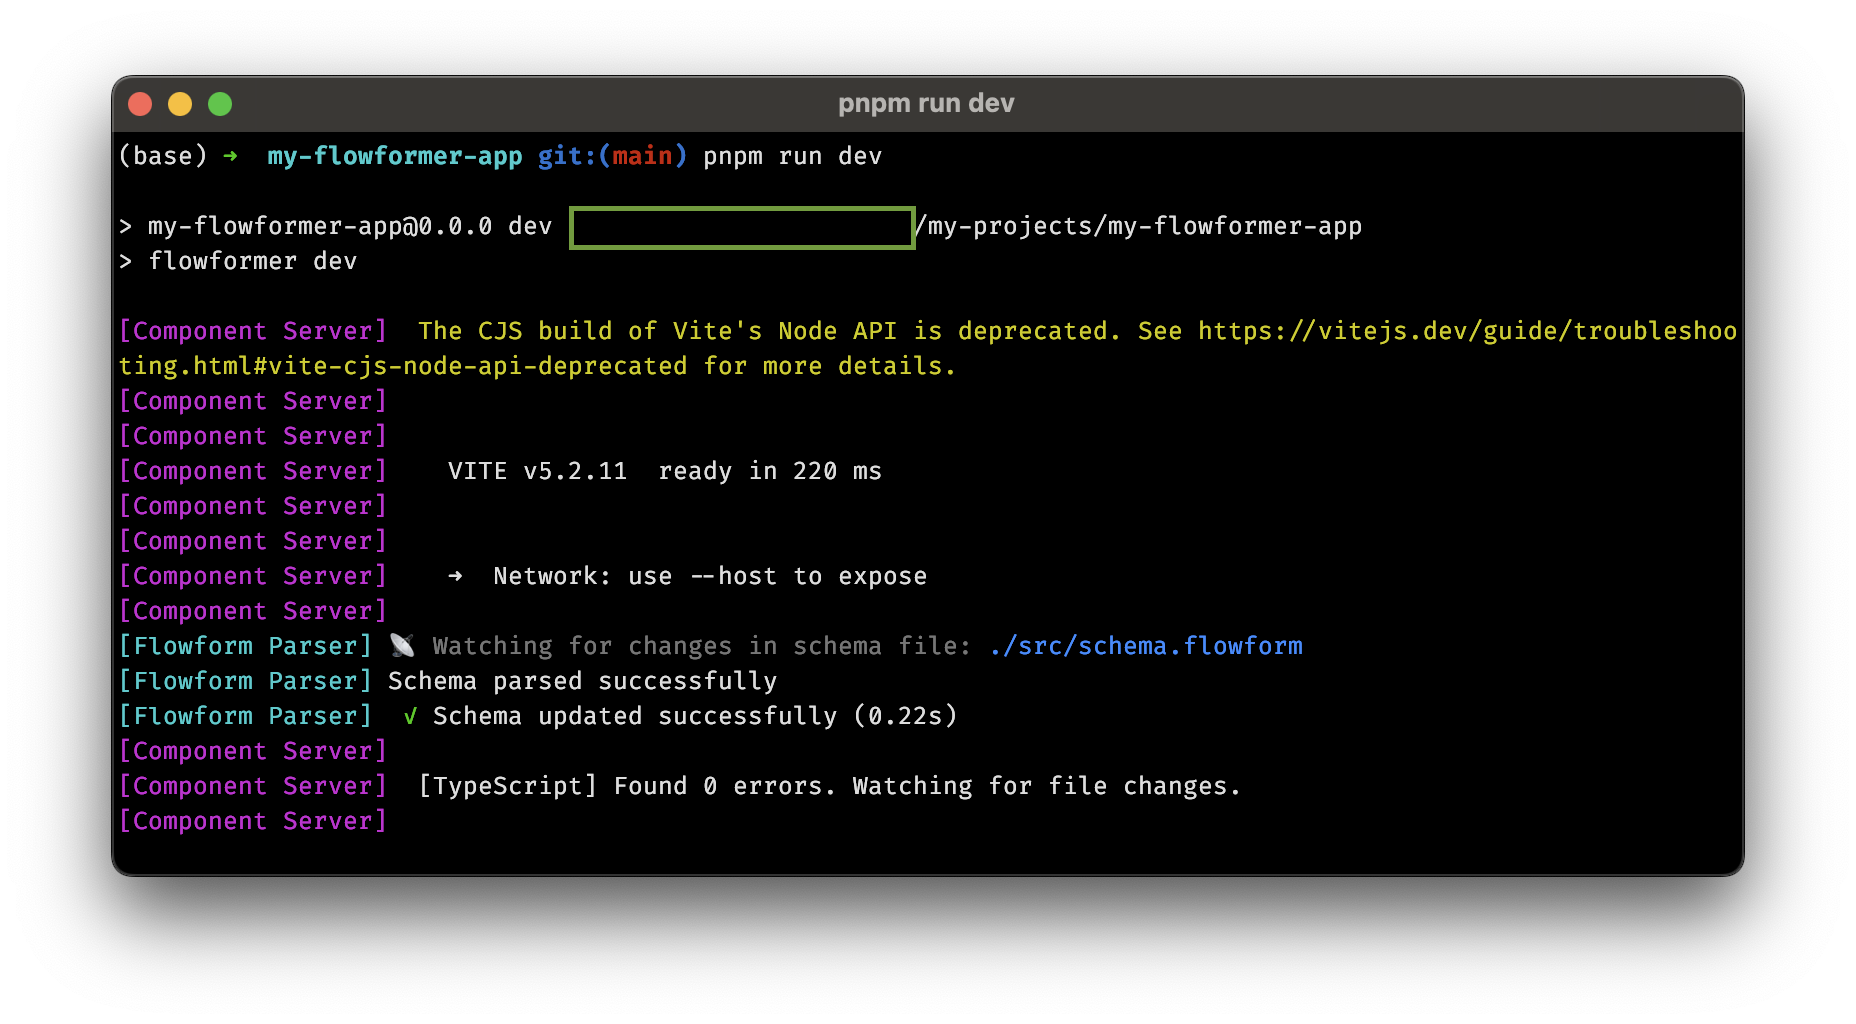
And that's it! You've created your first Flowformer app.
The create-app command will create a new Flowformer app with a schema that's designed for generating PowerPoint presentations. You can modify the schema to create any app you want. For more information on the schema language, see the Schema Language guide.
